Achieving the perfect manicure doesn’t have to require a trip to the salon or a hefty price tag. With a few essential tools and a bit of creativity, you can create elegant, salon-quality nail art in the comfort of your own home. Whether you’re looking to make a statement with bold colors or embrace a minimalist look with subtle designs, DIY manicures can be an enjoyable and cost-effective way to express your style.
1. Preparing Your Nails
Before diving into color and design, it’s essential to start with a clean, well-prepared nail canvas. Healthy nails provide the perfect foundation for flawless manicures.
Step-by-Step Nail Preparation:
- Remove old polish: Use a gentle nail polish remover to take off any previous nail polish. Opt for one that’s acetone-free to avoid drying out your nails.
- Trim and shape: If your nails are long, start by trimming them to your desired length. For a polished look, square or oval shapes work best. You can use a nail clipper for trimming and a nail file to shape the edges.
- Cuticle care: Soften your cuticles by soaking your hands in warm, soapy water for a few minutes. Once softened, gently push back your cuticles using a cuticle stick. For more detailed care, use a cuticle remover gel.
- Exfoliate: Lightly exfoliate your hands and nails to remove dead skin and any rough patches. This step ensures that your nails have a smooth surface to work with.
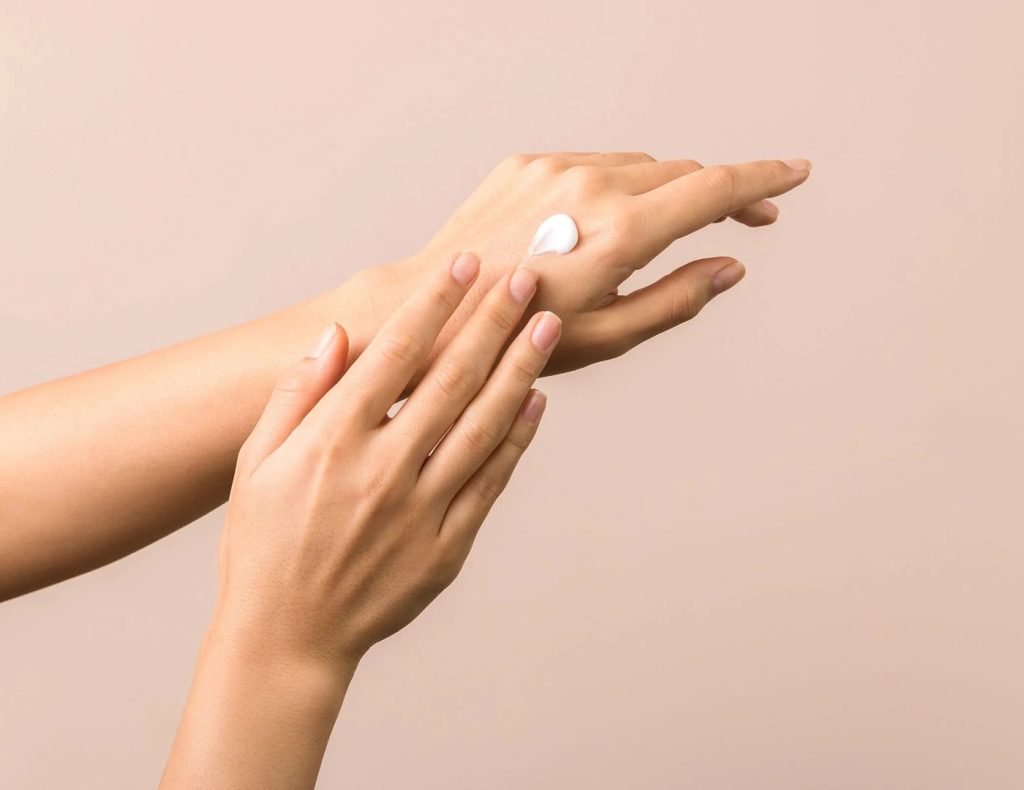
- Hydrate: Apply a nourishing cuticle oil or hand cream to keep the skin around your nails moisturized. Hydration is key to preventing dryness and cracking.
2. Choosing the Right Nail Products
Now that your nails are prepped, it’s time to select the right products for your manicure. Quality products can make a significant difference in the final result, so don’t skimp on the essentials.
- Base coat: A base coat is crucial for creating a smooth foundation. It helps the color adhere better and prevents staining, especially when using darker shades.
- Nail polish: When it comes to the color itself, high-quality nail polishes will give you a better finish and longer-lasting results. Opt for a brand that offers rich pigmentation and consistency. Choose a color that complements your personality, whether it’s a deep red for elegance or a neutral beige for subtlety.
- Top coat: A top coat seals your design and provides a glossy finish. It helps protect your manicure from chipping and adds a professional shine. For extra durability, consider a gel top coat or a quick-dry formula to speed up the process.
3. Techniques for Creating High-End Manicures
There are several techniques that can elevate your DIY manicure and give it a professional, high-end look. Below are some methods you can experiment with.
1. Classic French Manicure
The French manicure is a timeless, elegant look that never goes out of style. It’s simple, yet chic, and can be done in just a few steps.
How to achieve it:
- Apply a thin layer of nude or pale pink polish to the entire nail as your base.
- Once the base coat dries, use a white polish to create a clean, curved line along the tips of your nails. To make this easier, use a nail tape or a guide strip if you’re not confident freehanding the design.
- Finish with a top coat to seal the look.
2. Negative Space Nail Art
Negative space designs are incredibly trendy and give your nails a modern and minimalist vibe. By leaving parts of your nails unpolished, you create an interesting contrast that’s sophisticated and stylish.
How to achieve it:
- Start with a clear base coat.
- Use tape or nail stickers to create geometric patterns or stripes on your nails. The areas you cover will remain unpolished, while the exposed parts of your nail will show the natural nail or a different color.
- Paint over the exposed areas with your chosen nail polish and remove the tape carefully while the polish is still wet.
- Seal it with a top coat to enhance the design’s longevity.
3. Marbling
Marbled nails are a stunning design that mimics the appearance of marble stone. This design requires a bit of patience, but the result is well worth it.
How to achieve it:
- Begin with a white or light-colored base coat and let it dry completely.
- On a small piece of plastic or foil, drop different colors of nail polish. Use a toothpick or a nail art brush to swirl the colors together, creating a marble effect.
- Dip your nails into the swirled polish mixture, ensuring that the design covers the entire nail.
- Let the design dry and finish with a top coat for a smooth and glossy finish.
4. Glitter Gradient
A glitter gradient is an eye-catching design that transitions from a subtle shimmer at the base of the nail to a more intense glitter at the tips. It’s perfect for special occasions or a touch of glamour.
How to achieve it:
- Apply a base coat of your desired color.
- Once it’s dry, use a glitter polish and apply it to the tips of your nails. Gradually decrease the amount of glitter as you move down toward the cuticle to create a gradient effect.
- For extra sparkle, layer on additional coats of glitter polish, ensuring you blend them for a smooth transition.
- Seal with a top coat for extra shine and durability.

4. Adding Nail Art for Extra Flair
To truly elevate your nails, consider adding unique nail art accents. Here are some ideas to give your manicure a high-end touch:
- Nail stickers: Nail decals and stickers are an easy way to add designs without requiring a steady hand. Choose from florals, geometric patterns, or even metallic designs for a chic look.
- Rhinestones or studs: Adding small rhinestones or metal studs to your nails can make a simple manicure look glamorous. Place them near the cuticles or scatter them across your nails for added dimension.
- Foil accents: Gold or silver foil is a great way to give your nails a luxe appearance. Use it sparingly as an accent along the tips or in small sections to avoid overwhelming the design.
5. Drying and Maintaining Your Manicure
Patience is essential when it comes to drying your nails. Allow each layer of polish to dry completely before applying the next. This ensures a smooth, chip-free finish. You can also use a quick-dry spray or a drying lamp to speed up the process.
Long-Lasting Tips:
- Apply a fresh top coat every 2-3 days to keep your nails looking polished and glossy.
- Avoid exposing your nails to harsh chemicals or excessive water to maintain your manicure’s longevity.
- If a chip does occur, use a nail polish touch-up pen or simply apply a fresh coat of polish over the affected area.
Achieving salon-quality nails at home is possible with the right tools, products, and techniques. By focusing on nail preparation, selecting high-quality polishes, and mastering creative designs, you can elevate your DIY manicure game to the next level. Whether you’re keeping it classic with a French manicure or experimenting with trendy nail art like marbling or glitter gradients, the possibilities are endless. With a little practice and patience, you’ll soon be able to flaunt beautiful, high-end nails without ever stepping foot in a salon.